PowerPoint allows you to build a multimedia presentation in several ways. This tutorial will show you how to create a presentation using the AutoContent Wizard.
Getting Started
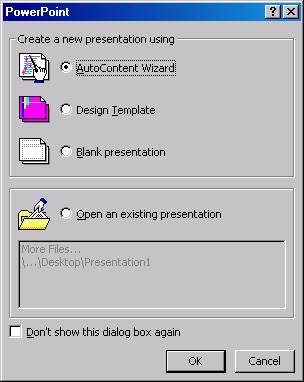
Open Powerpoint. This dialog box
will appear. Choose AutoContent wizard then click OK.
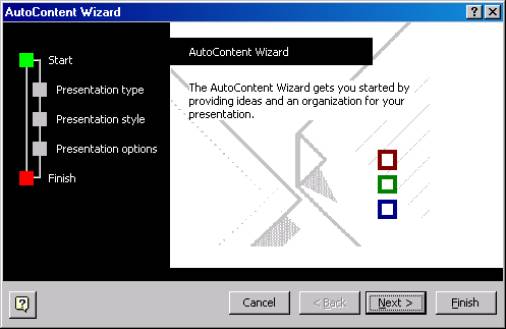
Start Screen
This window will appear. Click Next.
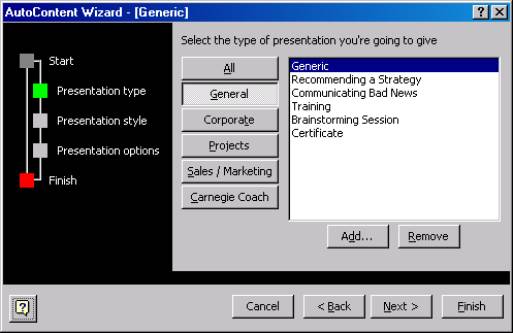
Presentation type
Select General / Generic presentation (it might already be selected). Click Next.
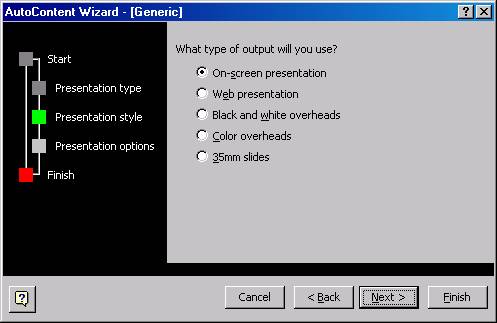
Presentation style
Choose On-screen presentation, then click Next.
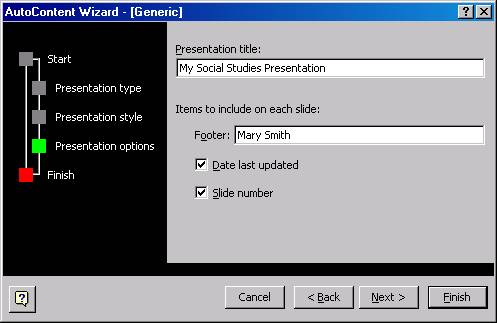
Presentation options
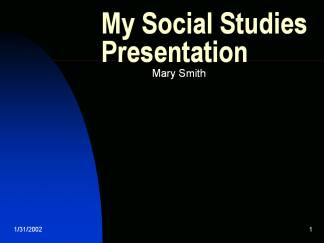
Type the title of your presentation in the top box. Type your name in the Footer Box then click Next.
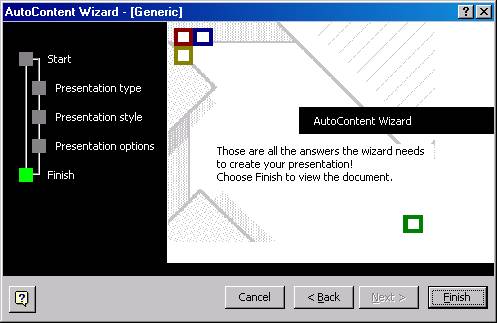
Finish screen
Click Finish to view the document.
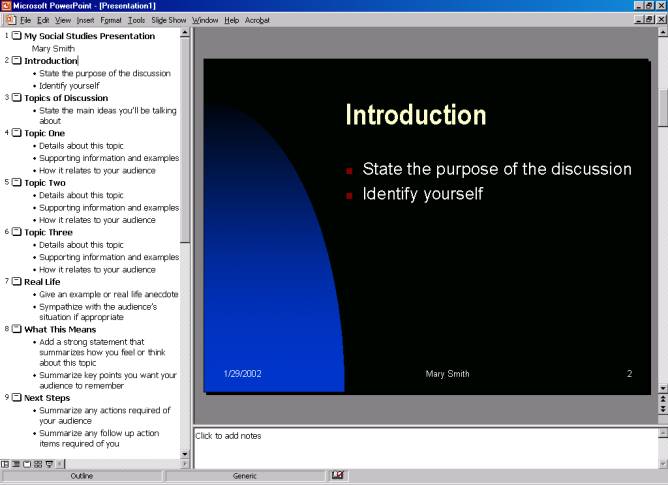
This screen will come up.
The toolbar in the lower
left corner is the Views Toolbar. Each of the buttons represents a different
way your presentation can be displayed in Powerpoint.
Normal View
The Normal View of your presentation is what is showing. This is where you will do most of your work. Normal view contains three panes: the outline pane, the slide pane, and the notes pane.
Outline pane: Type the content for each of your slides below the icons in
the outline pane. The bulleted points will help you to organize your ideas.
You can rearrange text and the order of the slides simply by clicking on it
and dragging it where you want. You can also change the appearance of your content
by selecting Font from the Format menu and making the desired
changes.
Slide pane: In the slide pane, you can see how the content will appear on each slide. You can also add graphics, movies, and sounds, create hyperlinks, and add animations to individual slides. How to do this will be discussed later in this tutorial.
Notes pane: The notes pane lets you add your speaker notes or information you want to share with the audience. You probably won’t use this.
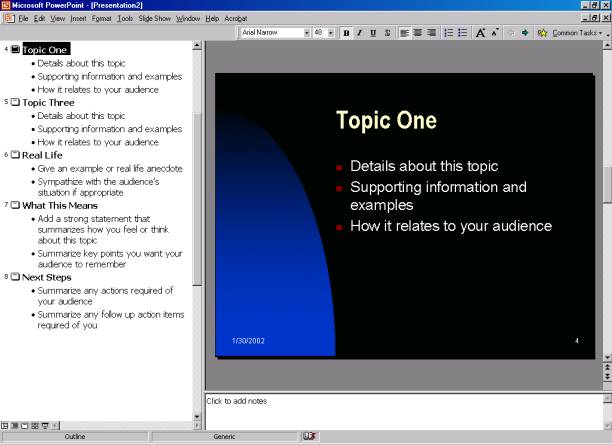
Slide View
Once you have entered your text, you can preview the slide by clicking the Slide View icon.

Slide View
You can edit and move text around the slide by clicking on it. Handles and a shaded border appear. You can edit text by placing the cursor, clicking, and typing.
To move the box, place the cursor on the border, click and drag. Font size and type can also be edited here, but changes only apply to one slide.
Global changes to all slides can be made easily. Select all text in the Outline View (Edit / Select All) and go to Format / Font. You can change heading text as well by selecting each heading.
Slide Sorter View shows thumbnail pictures of all your slides.
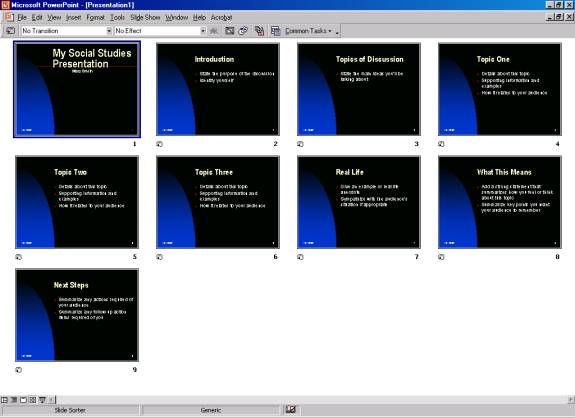
In this view you can do many things, such as:
Move a slide
To move a slide, simply click on it and drag it to a new location.
Add a slide
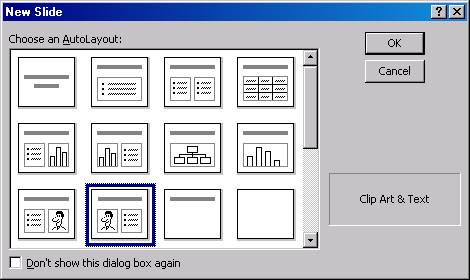
Click where you want the slide to appear then go to the Insert Menu and select New Slide. This window will appear.
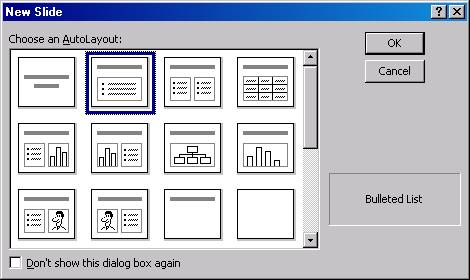
Several layout choices are available to you. The one highlighted is the most common design, and matches all the other slides in your presentation. Make your selection and click OK.
Delete a slide
Click on the slide you wish to remove then hit the Delete key.
Select animated transitions
a. For moving from slide to slide
Select the slides you want to separate with transitions. Then go to the Slide Show menu and choose Preset Animation. Select a transition from the drop down menu.
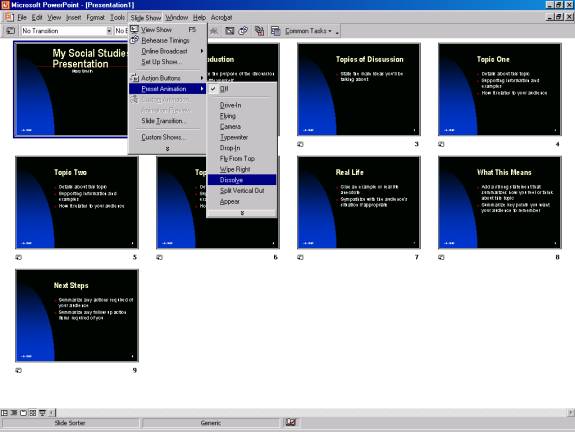
Then choose Animation Preview from the Slide Show menu to see how
your choice looks.
b. For animating text and graphics on a slide
In Powerpoint you can also animate text and graphics on an individual slide. Simply highlight the text or graphic you wish to animate and follow the steps described previously.
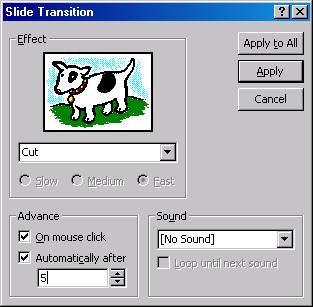
Normally, to move to the next slide in a presentation, you click with your mouse. You can also automate your presentation so the slides change after a preset time. To do this, go to the Slide Showmenu and click Slide Transition. Under Advance, click Automatically after, and then enter the number of seconds you want the slide to appear on the screen before it changes. To apply the timing to the selected slides, click Apply. To apply the timing to all the slides, click Apply to All.
Slide Show
You can preview your presentation at any time by clicking Slide Show in the Views toolbar. This view shows you how the presentation will look when you are finished. You can click on your mouse to move to the next slide.
Inserting Media Elements into Your Slides
You can easily insert graphics, sounds, or movies onto any of your slides.
To do this, open the slide on which you wish to include the item. Then go to the Insert menu and select either Picture or Movies and Sounds. Choose the path to where the media clip is located, then follow the prompts.
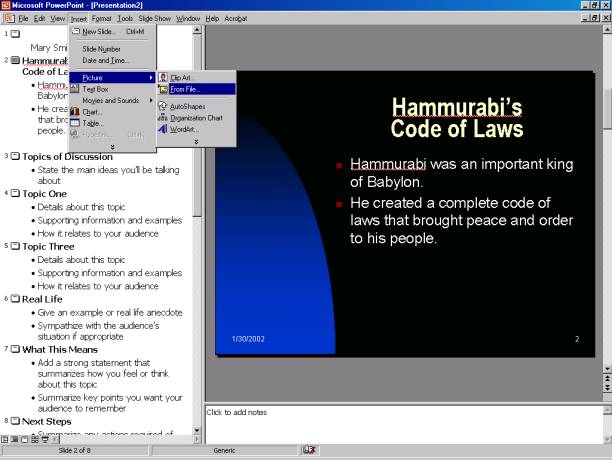
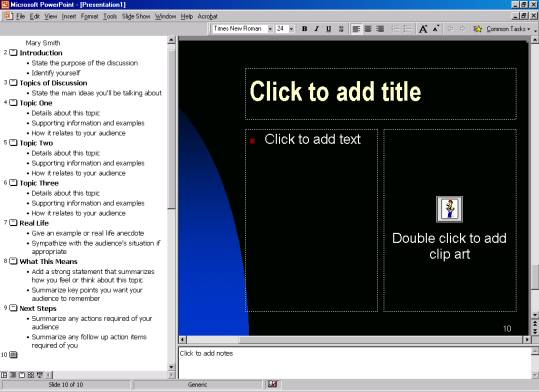
Note: if you are going to include a Clip Art picture along with text, you should create a new slide first. Go to the Insert menu and select New Slide. Choose one of the text and graphics layouts in the bottom row and click OK to add it to your presentation.
Instructions will appear on this slide explaining how to format your information.
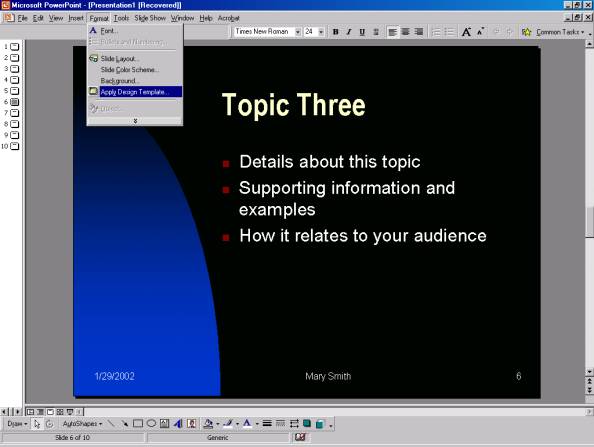
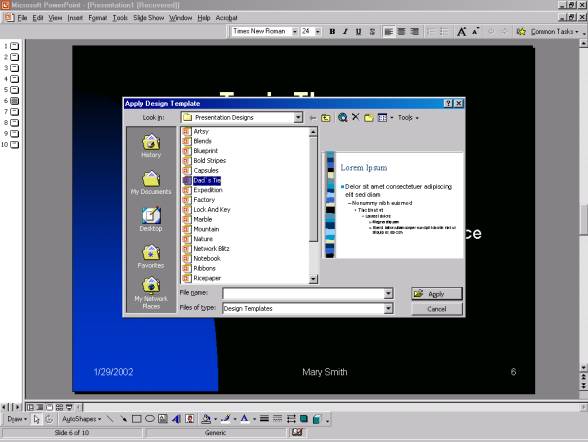
Changing the Background Design
AutoContent Wizard uses a preset background design. If you want to change the background, go to Format / Apply Design Template.
Take the time to explore each of the PowerPoint menus and see what other features are available. You might find something that will make your presentation even better!