|
Download this file in: |
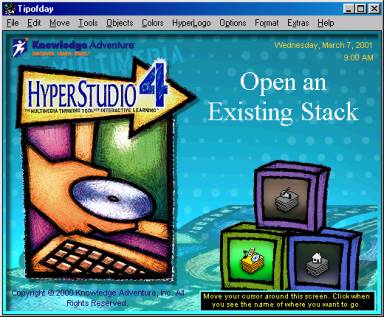
Open the HyperStudio program. On the opening screen,
click on “Open Existing Stack”.
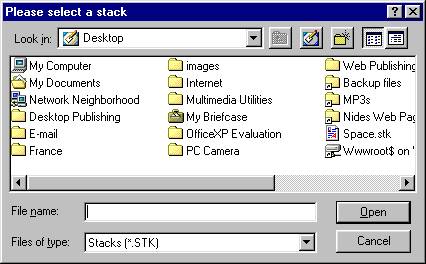
Navigate to the file on your Windows Desktop called “Space.stk”, then click “Open”.
You can add sounds to events in your project, such as transitions between cards. These may be pre-recorded sounds from the HyperStudio Library, sounds that you may have found on the Internet, or sounds that you have recorded yourself. Let's add a sound to the transition between Card 1 and Card 2 of this project.
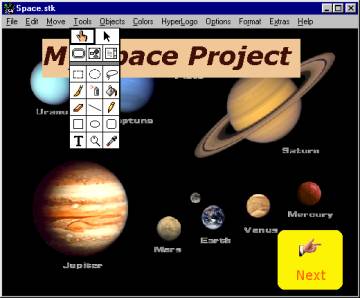
Click “Tools” on the top menu bar, then select the arrow tool.

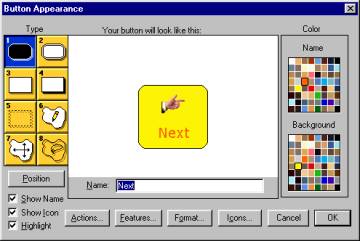
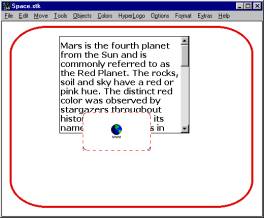
Move your cursor over the “Next” button at the bottom right of the card. It will turn into a 4-headed arrow. Double-click on the button. A “Button Appearance” dialogue box will appear. Click on “Actions”.
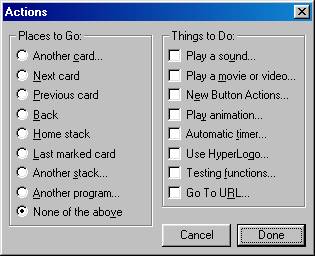
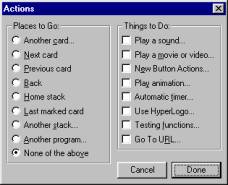
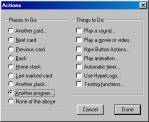
An “Actions” dialogue box will appear. Put a check in the box beside “Play a sound”.

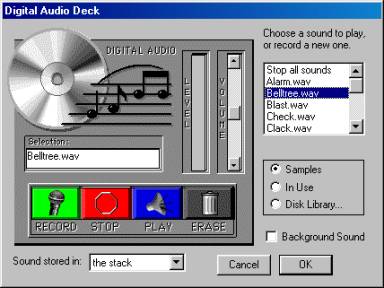
The “Digital Audio Deck” dialogue box appears. You will
see that there are many options here, but for now, we are going to select a
sound from the HyperStudio “samples” library.
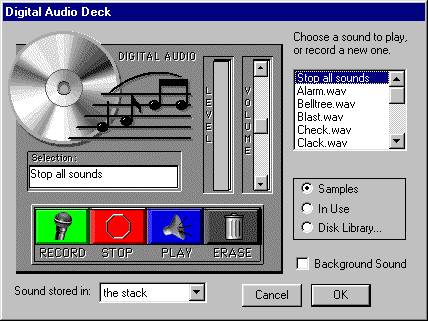
Select a sound; in this case,
I have selected “Belltree.wav”. To preview a sound, click the “Play” button.
Adjust the volume using the volume slider. Click “OK”.
You will be taken back to the “Actions” dialogue box.
Click “Done”.

To test your button/sound, click on “Tools” on the top menu bar, then select the “hand” button.
Move the hand over the “Next” button and click on it.
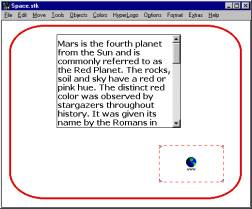
As Card 2 is displayed, the sound you selected should play.
If you have a microphone, you can also record a sound of your own and assign it to the button using the procedure above.
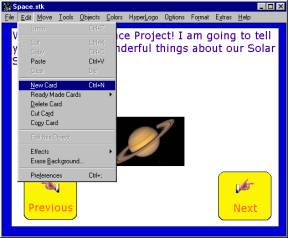
Let’s add another card. Go to “Edit/New Card”.
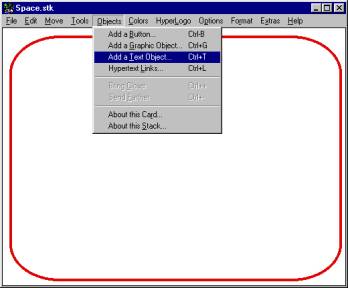
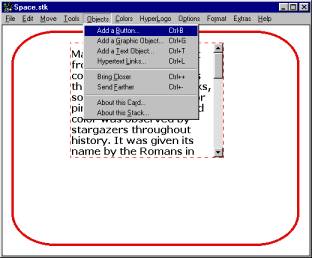
You can add a border to your new card, if you wish. Go to “Objects”, then select “Add a Text Object”.
Move your cursor over the text object until it becomes a 4-headed arrow. Double-click. The “Text Appearance” dialogue box will appear.
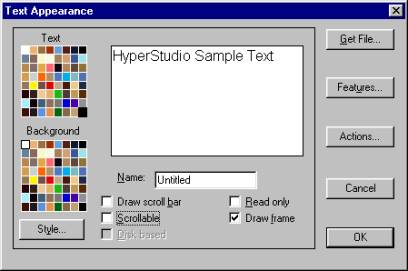
Set the properties of your text; I have de-selected “Draw scroll bar” and “Scrollable” because of the small amount of text. Using the “Style” button, I have set my text to be 12 point Verdana. When you are finished, click “OK”.
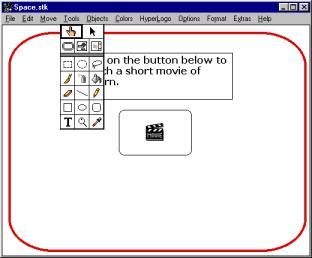
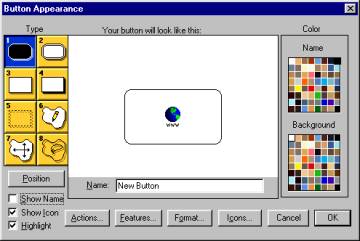
Go to “Objects/Add a button”. The “Button Appearance” dialogue box will appear. Put a check beside “Show Icon”.
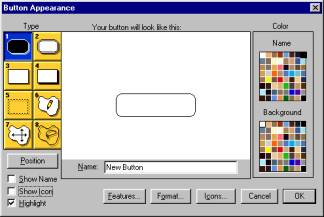
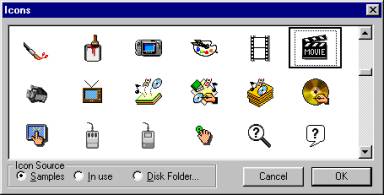
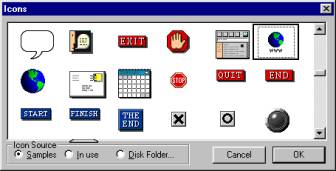
Select an icon from those displayed. Since I am inserting a movie, I have chosen a Movie icon. Click “OK”, then “OK” again in the next window.
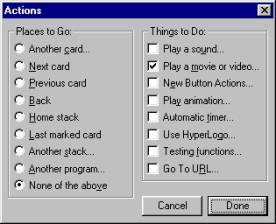
The button/icon will appear on your card. Move your cursor over it to get the 4-headed arrow. You can drag it to another position on the card, if you wish. Double-click on it. Under “Things to do” on the right, select “Play a movie or video”.

In the “Video/Movie Source” dialogue box, accept the default and click “OK”.
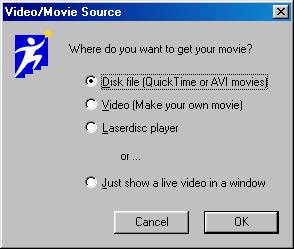
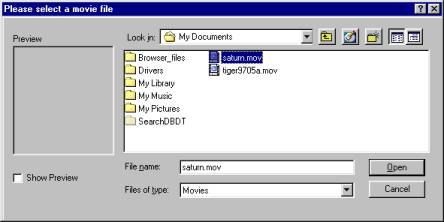
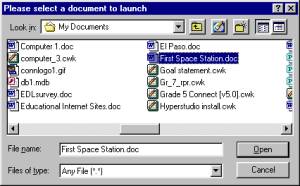
Navigate to “My documents”, then select the “saturn.mov” movie file and click “Open”.
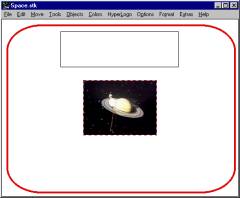
It will now appear on your card with a moving red box around it. Click anywhere away from the picture.
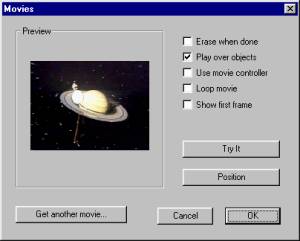
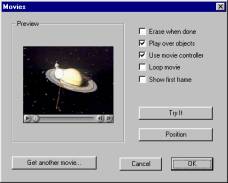
You can check the box beside
“Use movie controller” if you wish. This will add control buttons below the
movie. Click on “Position”.
Use the 4-headed arrow to drag the picture below the
position of the Movie button you created earlier.
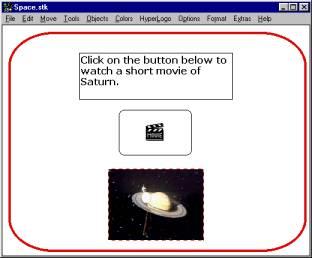
Click away from the picture, then click “OK”.
Click “Done” in the next window.
To test your movie, go to “Tools”, then select the hand tool.
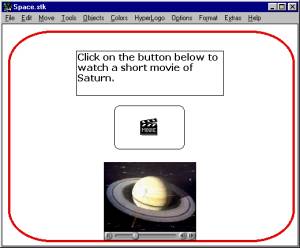
Place the hand over the Movie button and click. The movie should play just below the button.
For this demonstration, I have used a movie I downloaded
from the Internet; you can also use a movie from the HyperStudio Media Library.
Navigate to “Program Files/HyperStudio/Media Library/Movies”, and select a movie.
To preview a movie, put a check in the box beside “”Show Preview”.

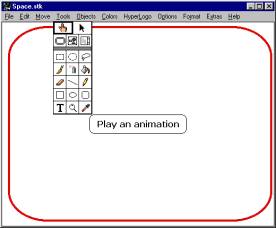
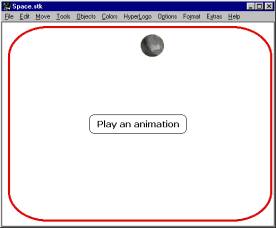
You can add an animation to a card. Create a new card and add a button to it, labelled “Play an animation”. Put a check in the box beside “Show Name”. Click OK.
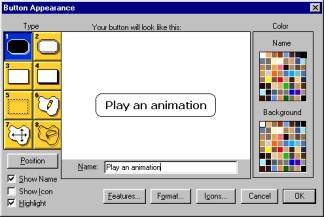
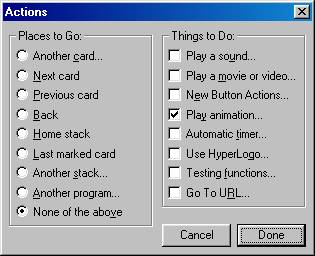
Using the 4-headed arrow, double-click on the button.
Put a check beside “Play Animation”.
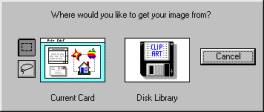
Double-click on “Clip Art”.
Double-click on the “Animation” folder.
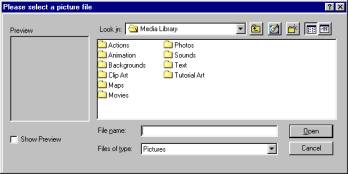
Click once on a file to select it, then select “Show Preview” to see what it looks like.

Click the Play button to watch the animation. Click “Open” when you are finished.
The picture will appear on your card; note the directions at the bottom right.
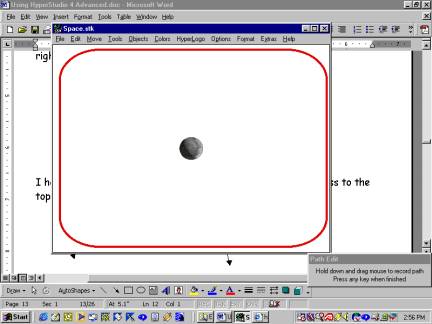
I start the moon at the top right and drag it across to the top left, then press “Enter”.
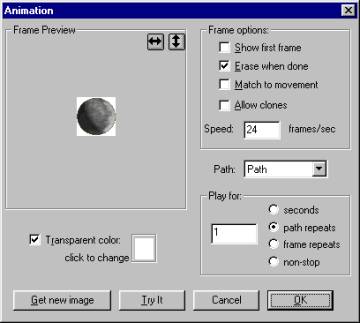
In the next dialogue box, uncheck “Erase when done”, then click on “Try It”. You can select other options if you wish. Click “OK” when you are done.
Click “Done” in the next window.
To test your button, go to “Tools” and select the hand tool. Click on your button with it, and your animation should run.
Creating Hyperlinks to Web sites
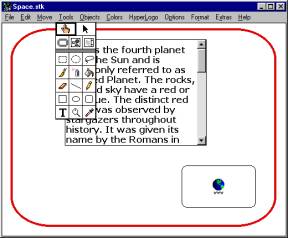
Go to “Objects/Add a Button”.
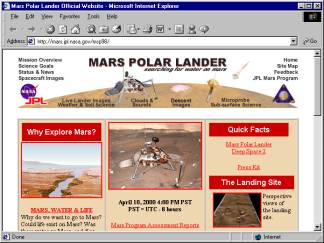
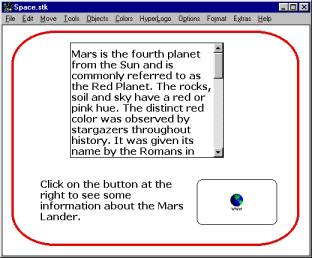
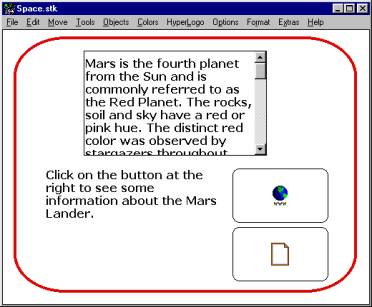
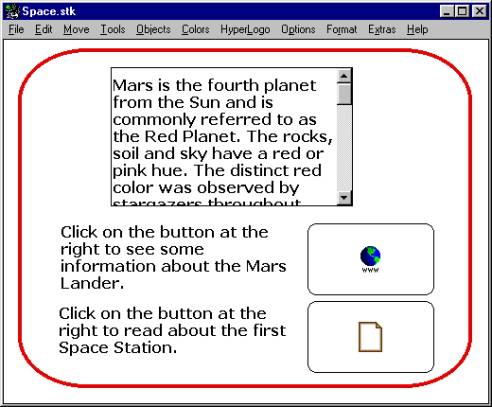
I have created a text object on this page and placed some text inside it. I want to direct the reader to a website about the Mars Polar Lander. I am going to use my button to link directly to the website.
In the “Button Appearance” dialogue box,
uncheck
the box beside “Show Name”,
and
check
the
box beside “Show Icon”.
Choose an appropriate icon and click “OK”.
Click OK in the “Button Appearance” dialogue box, then
“OK” again in the next window. You will be returned to your page, where your
button will appear with a moving red line around it.
Move your cursor over the button and drag it to the lower right corner of the page. Then double-click on it.
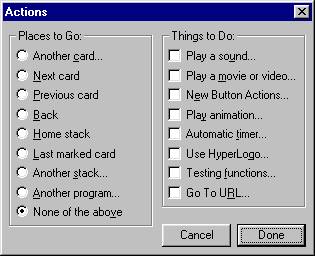
In the “Actions” dialogue box, under “Things to do”, check the box beside “New Button Actions”.
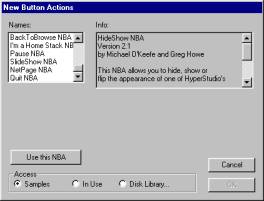
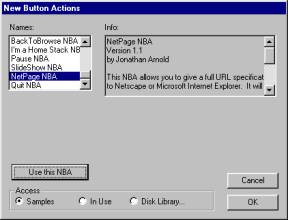
In the “New Button Actions” dialogue box, select “NetPage NBA”, then click “Use this NBA”.
In the next window, enter the URL of the website you want the button to link to. To avoid typos, I recommend copying the URL from the Location Bar of your web browser, including the http://, then pasting it into this field. Click “OK”.
(Tip: use Ctrl/C to copy, and Ctrl/V to paste).
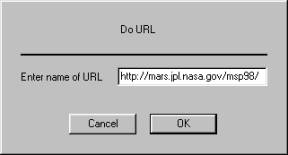
Click “OK”.
Click “Done”.

Select “Tools”, then select the hand tool.
Move the hand over the button and click on it to test it.

It should start up your web browser and take you directly
to the site.
Now you will have to create some text to tell the user what your button does. Do this by adding a text box, typing in your directions, and placing it beside your button. I have opted to have no frame around my text box.
Creating Hyperlinks to Documents
I am going to add another button to my page, but this one will link to a Microsoft Word document called “First Space Station”. After creating and placing the button on the page (as described in the previous section), double-click on it to get the “Actions” dialogue box. Under “Places to go”, put a check beside “Another program”.
In the next window, I am going to choose the document and the program I want to use to open it.
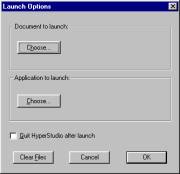
First, under “Document to launch”,
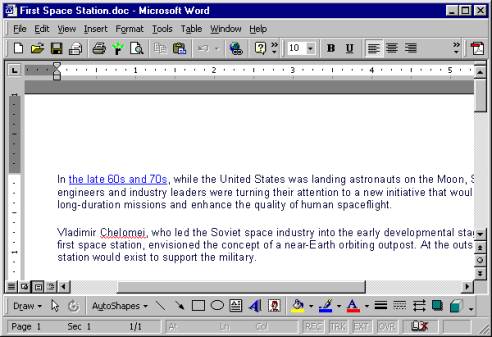
click on the “Choose” button. Navigate to the document (mine is in “My Documents”).
Click “Open”.
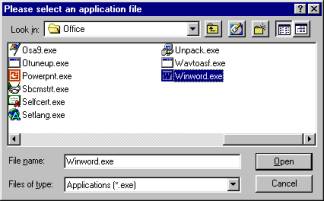
Now, under “Application to launch”, click on the “Choose”
button. Navigate to the “Executable” file (the one that opens the program).
Since I am using a Microsoft Word document, I must choose the Microsoft Word
program to open it. The path to this file is “C:\Program Files/Microsoft Office/Office/Winword.exe”.
(Tip: the “executable” file usually has a program icon in front of it). Click
“Open”.
In the next window, click “OK”. Notice that the selections you have made show up here and here.

Click “Done”.
Test this button as you did before; go to “Tools” and select the hand tool. Move it over the button and click.
The Microsoft Word program should open up your document.
Finally, create a text box and enter some directions for the user.
The HyperStudio Player allows you to display HyperStudio stacks on your computer, without having the complete HyperStudio program installed. You can download and install it for free at:
http://www.nides.bc.ca/STULINKS.HTM
After downloading the program (1188K), find and double-click on the file, and follow the Setup instructions. After installation is complete, start the Player and open the project.
Using the HyperStudio Web Browser Plug-in
This is similar to the HyperStudio Player above, but it works with your web browser to allow you to download and play a HyperStudio project that has been posted on a web site within your web browser window. You can download and install it for free at:
http://www.nides.bc.ca/STULINKS.HTM
After downloading the program (1197K), find and double-click on the file, and follow the Setup instructions. If you are running more than one Web browser, run the program again and choose your other browser. Double-click on a HyperStudio project, and it will play within your browser window.
You can also find these programs (Windows and Mac versions) at the HyperStudio web site:
http://www.hyperstudio.com/downloads/index.html
To view some HyperStudio projects done by NIDES students, go to:
http://www.nides.bc.ca/STULINKS.HTM
© Chris Taylor
North Island Distance Education School